Choose the option to "Locate and Install driver software" Do not click on "Don't show this message again..." or you will not be able to install in the future.
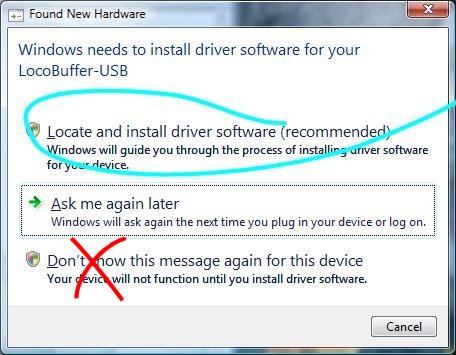
When you plug in the LocoBuffer-USB for the first time, your system
should open a window titled "Found New Hardware"
Choose the option to "Locate and Install driver software" Do not
click on "Don't show this message again..." or you will not be able
to install in the future.
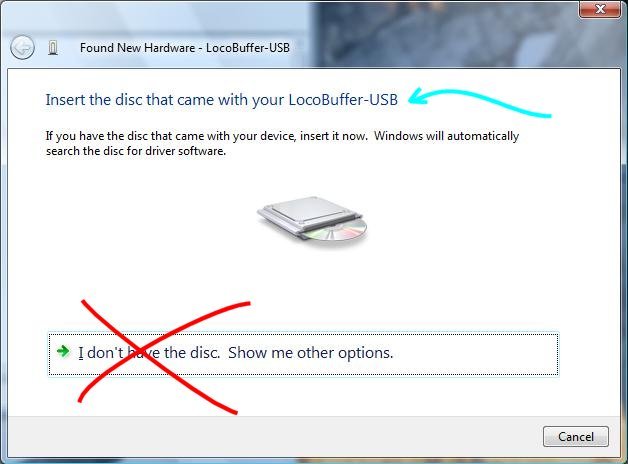
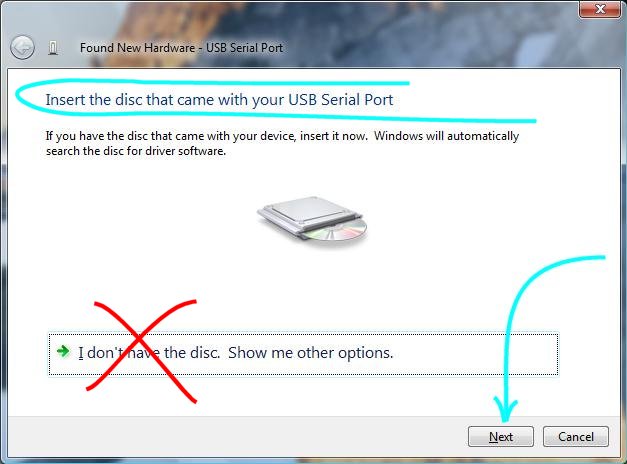
Insert the disk that was provided with your LocoBuffer-USB. If the disk is
older than January 2008, then download new drivers here.
Do NOT use any other drivers or your LocoBuffer-USB will be inoperative.
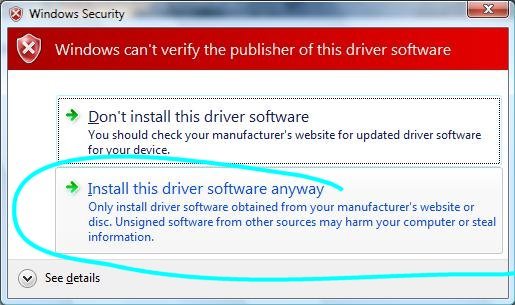
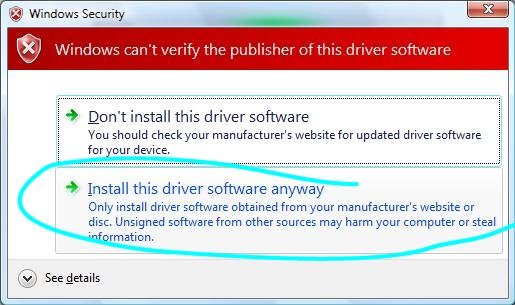
Vista then opens a warning
message from Microsoft about not being able to verify the publisher. Be sure
that you have the correct RR-CirKits LocoBuffer-USB drivers, (2008 or later)
then click on the selection that says "Install this driver software anyway".
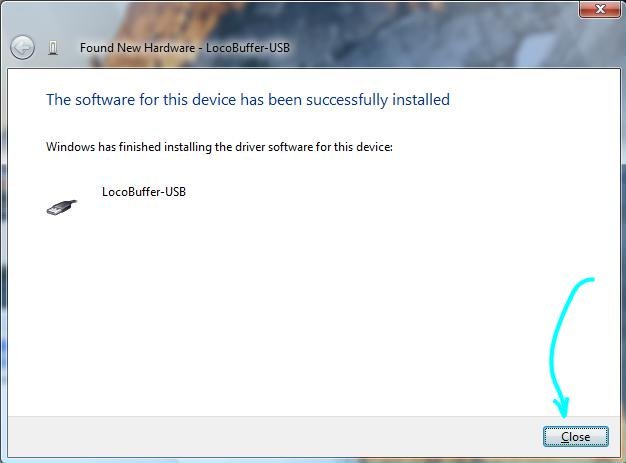
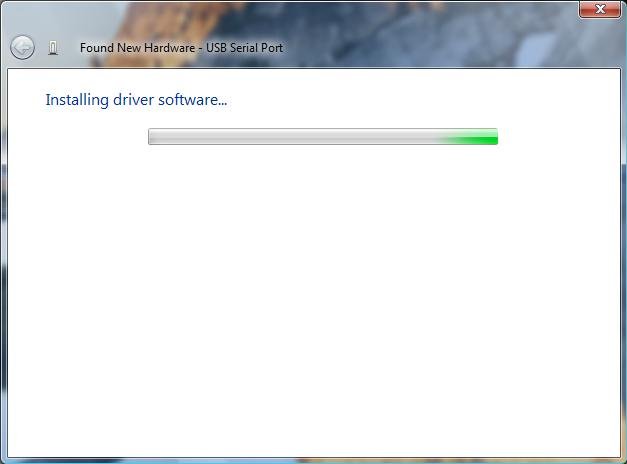
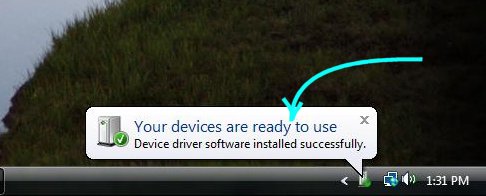
It should then
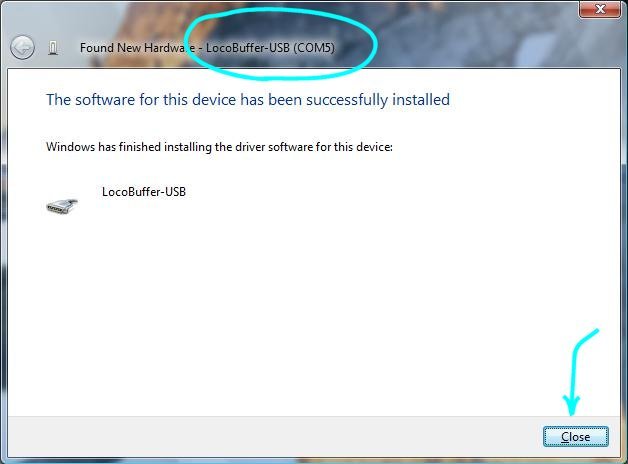
continue automatically to the point where it says "The software for this
device has been successfully installed" and
you can click on "Close"
As soon as you click "Close" the computer acts like it hasn't paid any attention to what it just did, so you have to do it all over again. Of course this time the CD is already in the drive, so you just click "Next". The LocoBuffer-USB actually requires two drivers to operate properly. The first install was for the USB driver. The following install will be for the VCP (Virtual Com Port) driver that allows it to be accessed as if it was a serial port.
Again tell Windows that this driver will not do any bad things to the system, and it will soon proceed a second time to the final install screen.
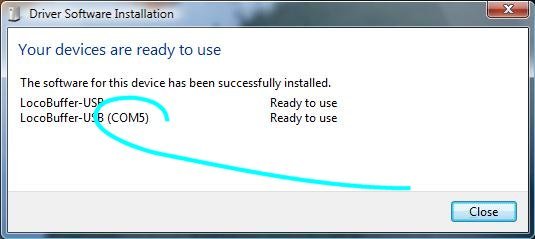
Note that Vista does a nicer job than earlier Microsoft operating systems during the VCP driver install. It actually tells you the identity of your new Com Port. In this example it is (COM5). Write down this number for later in the process, then click on "Close"
At this point you should have the driver installed such that Windows will
remember it.
If you forgot to write down the Com Port number you can click on the above notice which will open an information Window that identifies both drivers that you just installed, including the Com Port number that will be used by your software. Your system will probably have a different number than this example.
If you unplug the LocoBuffer-USB, Windows should make a "bink-bonk" sound. If you plug it in again it should do a "bonk-bink" sound, but not make you install the drivers again, even if you use a different USB port.
Once you have installed the Windows drivers and have your LocoBuffer-USB connected, then you can start up your software. Your software will not load properly until after the drivers are installed.
If you failed to write down the Com Port number you may locate it as follows. Click on "Computer"
In the Explorer window that opens, select "System properties".
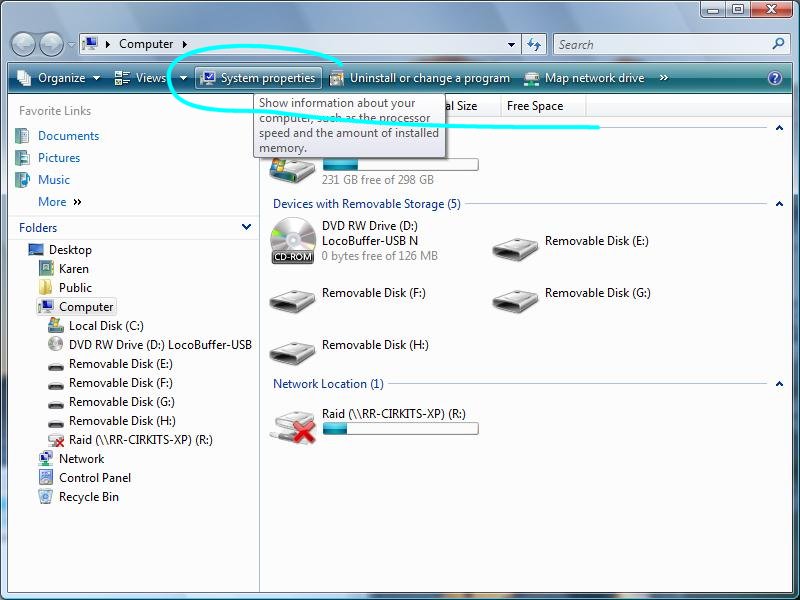
This should open the "System" window. Choose "Device Manager".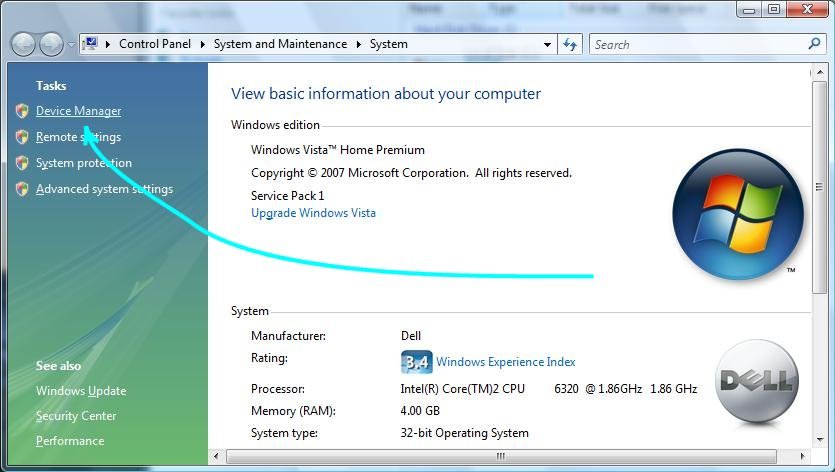
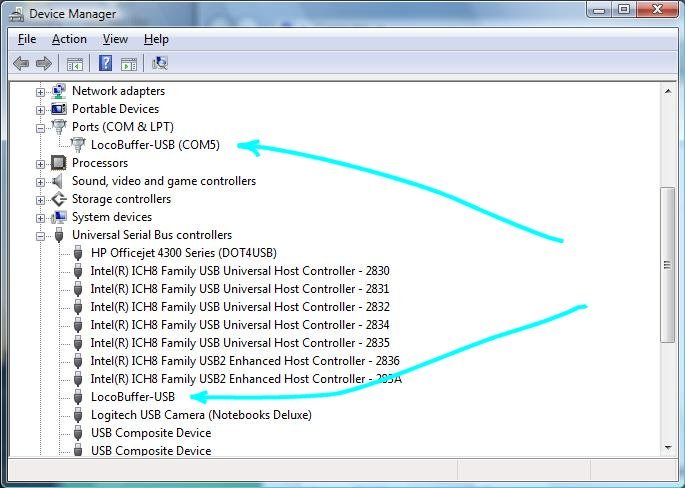
Open up the "Ports (COM & LPT)" section and check that the LocoBuffer-USB
shows as an option. If it is not there at all, or there is no entry for the
LocoBuffer-USB, then something didn't install correctly. The COM number
shown
with the LocoBuffer-USB entry is the one to use with your software when you
set its preferences. The LocoBuffer-USB driver should appear in the list of
"Universal Serial Bus Controllers". Both entries need to be in place
for the LocoBuffer-USB to operate properly.
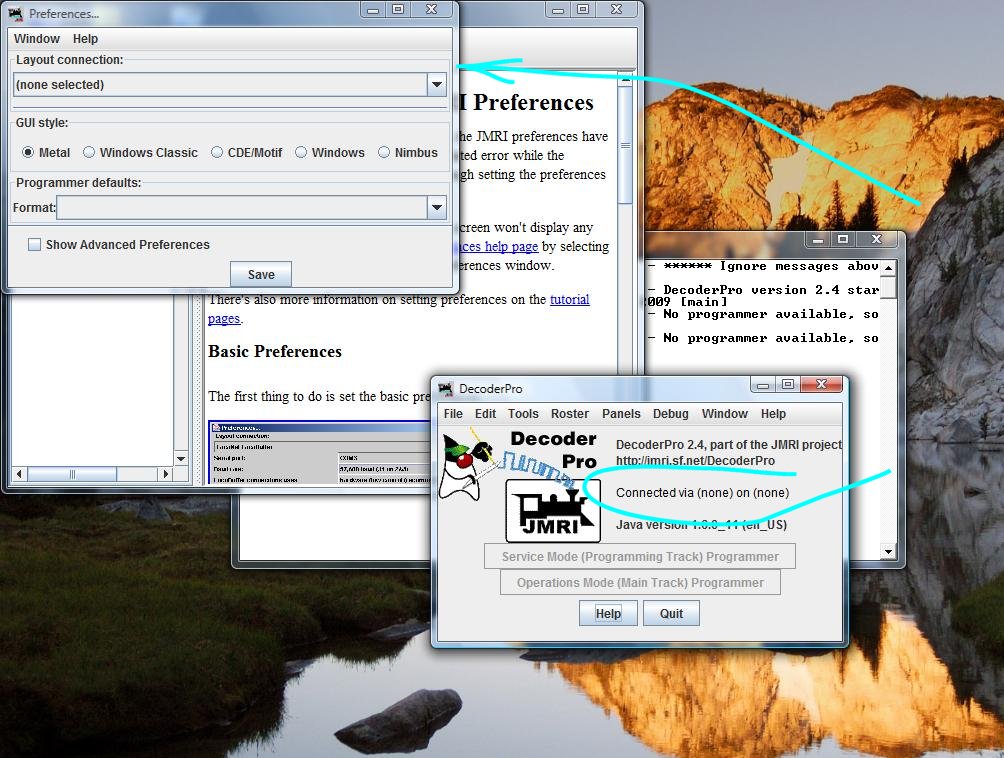
Once the LocoBuffer-USB drivers are installed, then you may start up your software. In this example we are using JMRI DecoderPro, but other programs operate in a similar manner. The first time that your program is started you will need to set the program's preferences to be LocoBuffer-USB and select the proper Com Port.
For this example we make the following selections. Your Com Port and command station may be different. I selected "Nimbus" as the GUI style to make JMRI windows match other Vista applications. You may use whatever looks good to you. I also would normally select Format: Comprehensive.
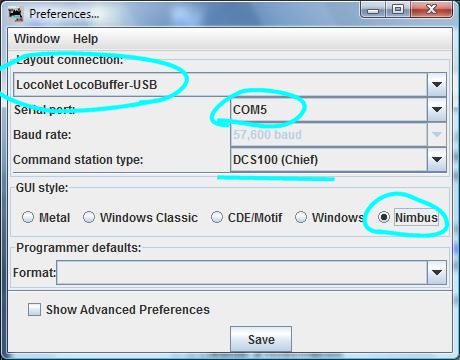
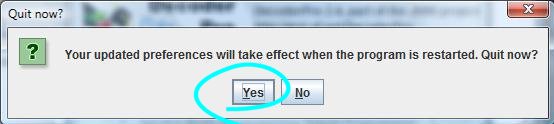
Click on "Save". You will see the following message. Click on "Yes" and JMRI will change its settings and then close.
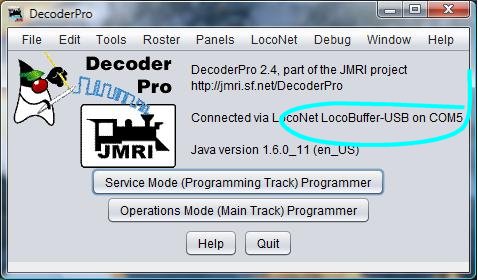
The next time you start DecoderPro you should see the following. Note that it has now opened with the correct information listed in the main window. You will need to do the same preferences settings in PanelPro or any other JMRI startup option you use for the first time.
As a final check that your LocoBuffer-USB is installed and operational with JMRI, select the LocoNet drop down list.
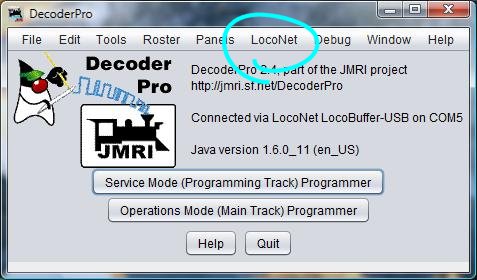
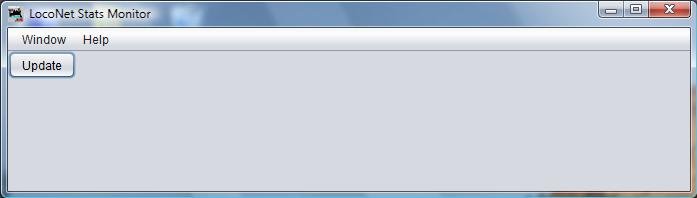
Then choose Monitor LocoNet Stats.

The following window should appear. This confirms that the LocoBuffer-USB is connected to an operating LocoNet and is sending and receiving messages properly.
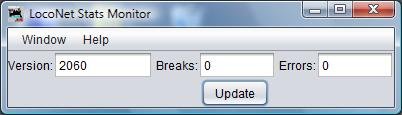
If you get the following blank window then be sure that your LocoBuffer-USB is configured properly in the preferences, is connected to a working LocoNet and that the command station is powered on. Once communication has been properly established, then the window should change into that as shown above.
Any further problems should be addressed to support@rr-cirkits.com.